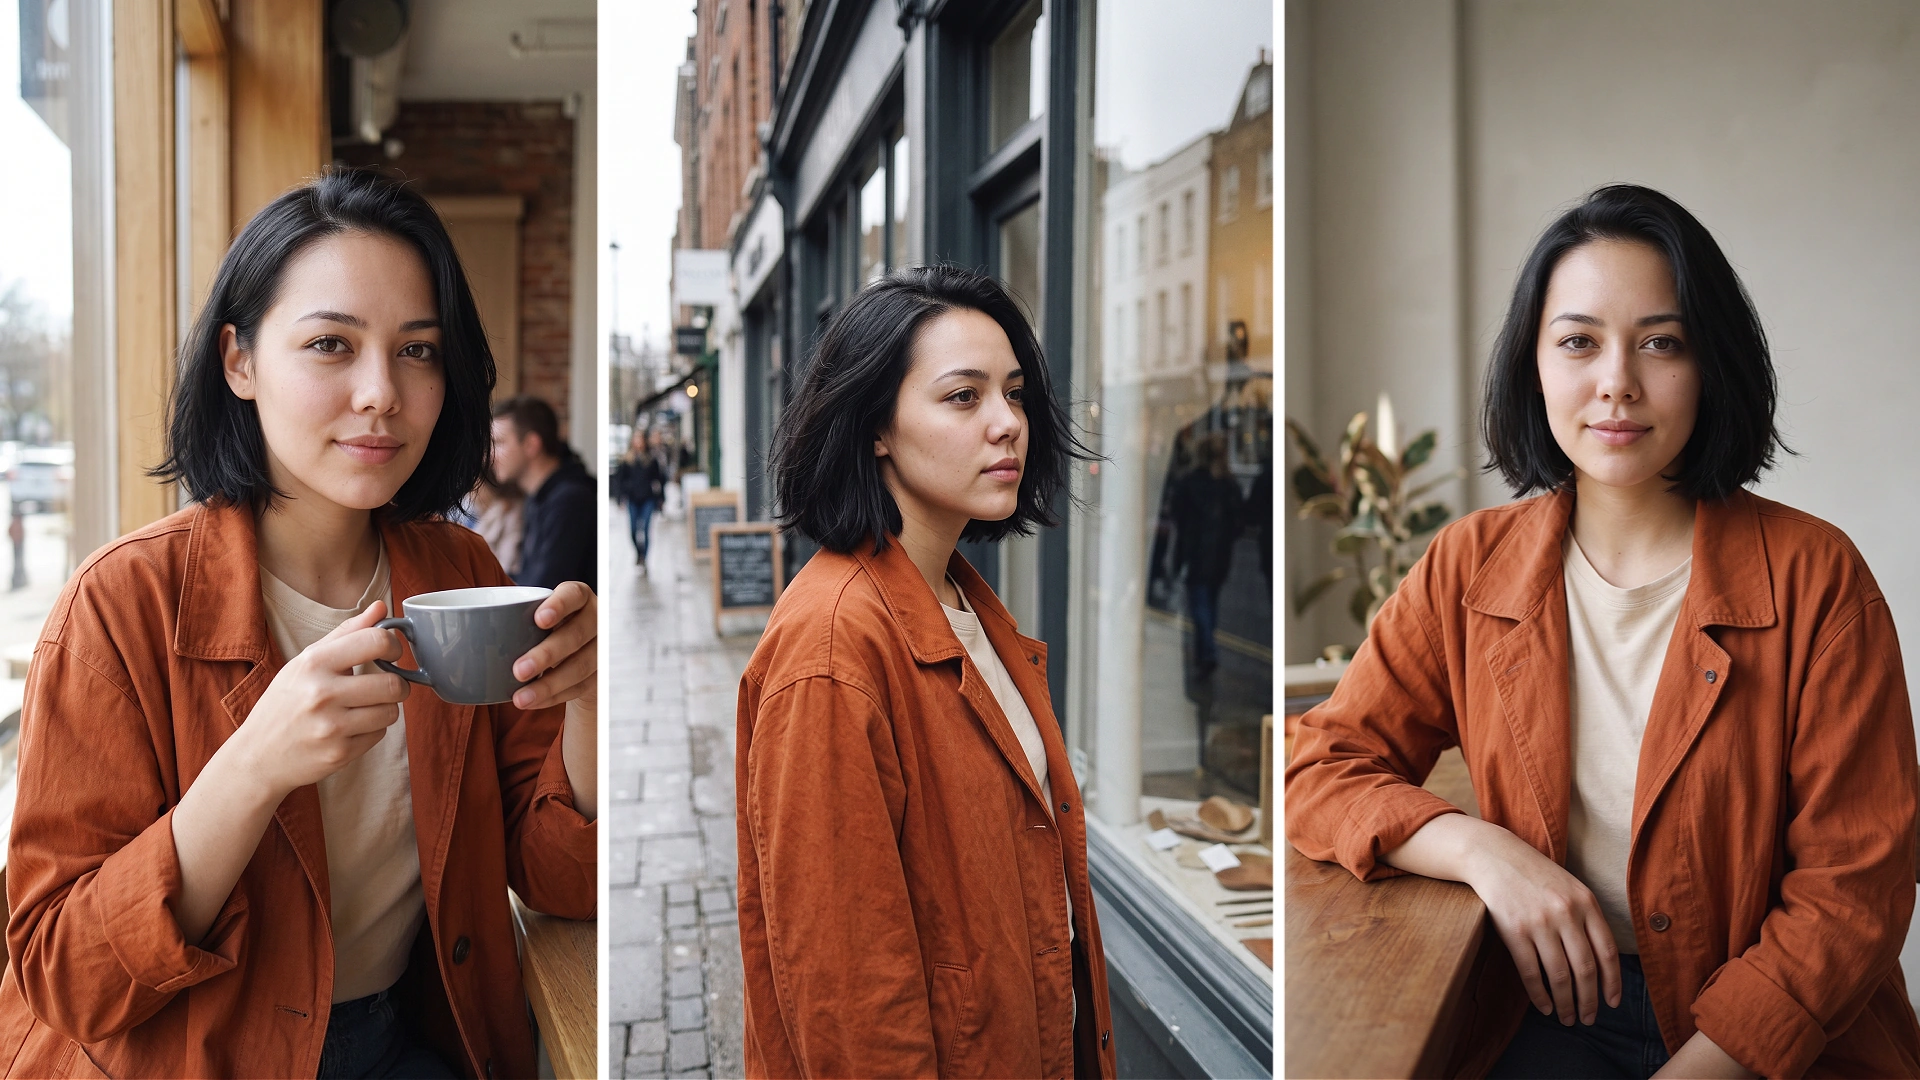
Your first portrait looks right. Then you move the character into a café, and the face changes. You try a street scene, and the hairstyle becomes longer. By the time you animate the image, the person no longer feels like the character you started with.
AI character consistency is the practice of keeping a character recognizable as the scene, pose, clothing, or medium changes. It starts with deciding what defines that character, choosing clear references, and reviewing each new result against the same baseline.
This guide walks through a practical workflow for images and video, with a reusable character card and sample prompts. The examples are creative instructions, not tested Framivo outputs. Reference controls and results depend on the model and workflow you use.
What Does AI Character Consistency Actually Mean?
Consistency has several layers. Separating them helps you describe a change without accidentally redesigning the whole character.
| Layer | What to check | What may change deliberately |
|---|---|---|
| Identity | Face shape, facial features, hairline, distinctive details | Expression and viewing angle |
| Styling | Hairstyle, clothing, accessories | An outfit selected for a new scene |
| Visual treatment | Rendering style, texture, color treatment | Lighting appropriate to the setting |
| Video continuity | Recognizable features throughout a shot | Movement, expression, camera position |
A character can change jackets and remain the same person. Conversely, keeping the same jacket does not compensate for a different face. Start by identifying the features that carry identity, then decide which styling details belong to the current scene.
For video, also distinguish consistency within one clip from consistency across separate clips. A stable opening frame does not establish that the face stays stable through a turn, and a good individual shot does not establish that it matches the next shot.
Build a Character Reference Kit Before You Generate
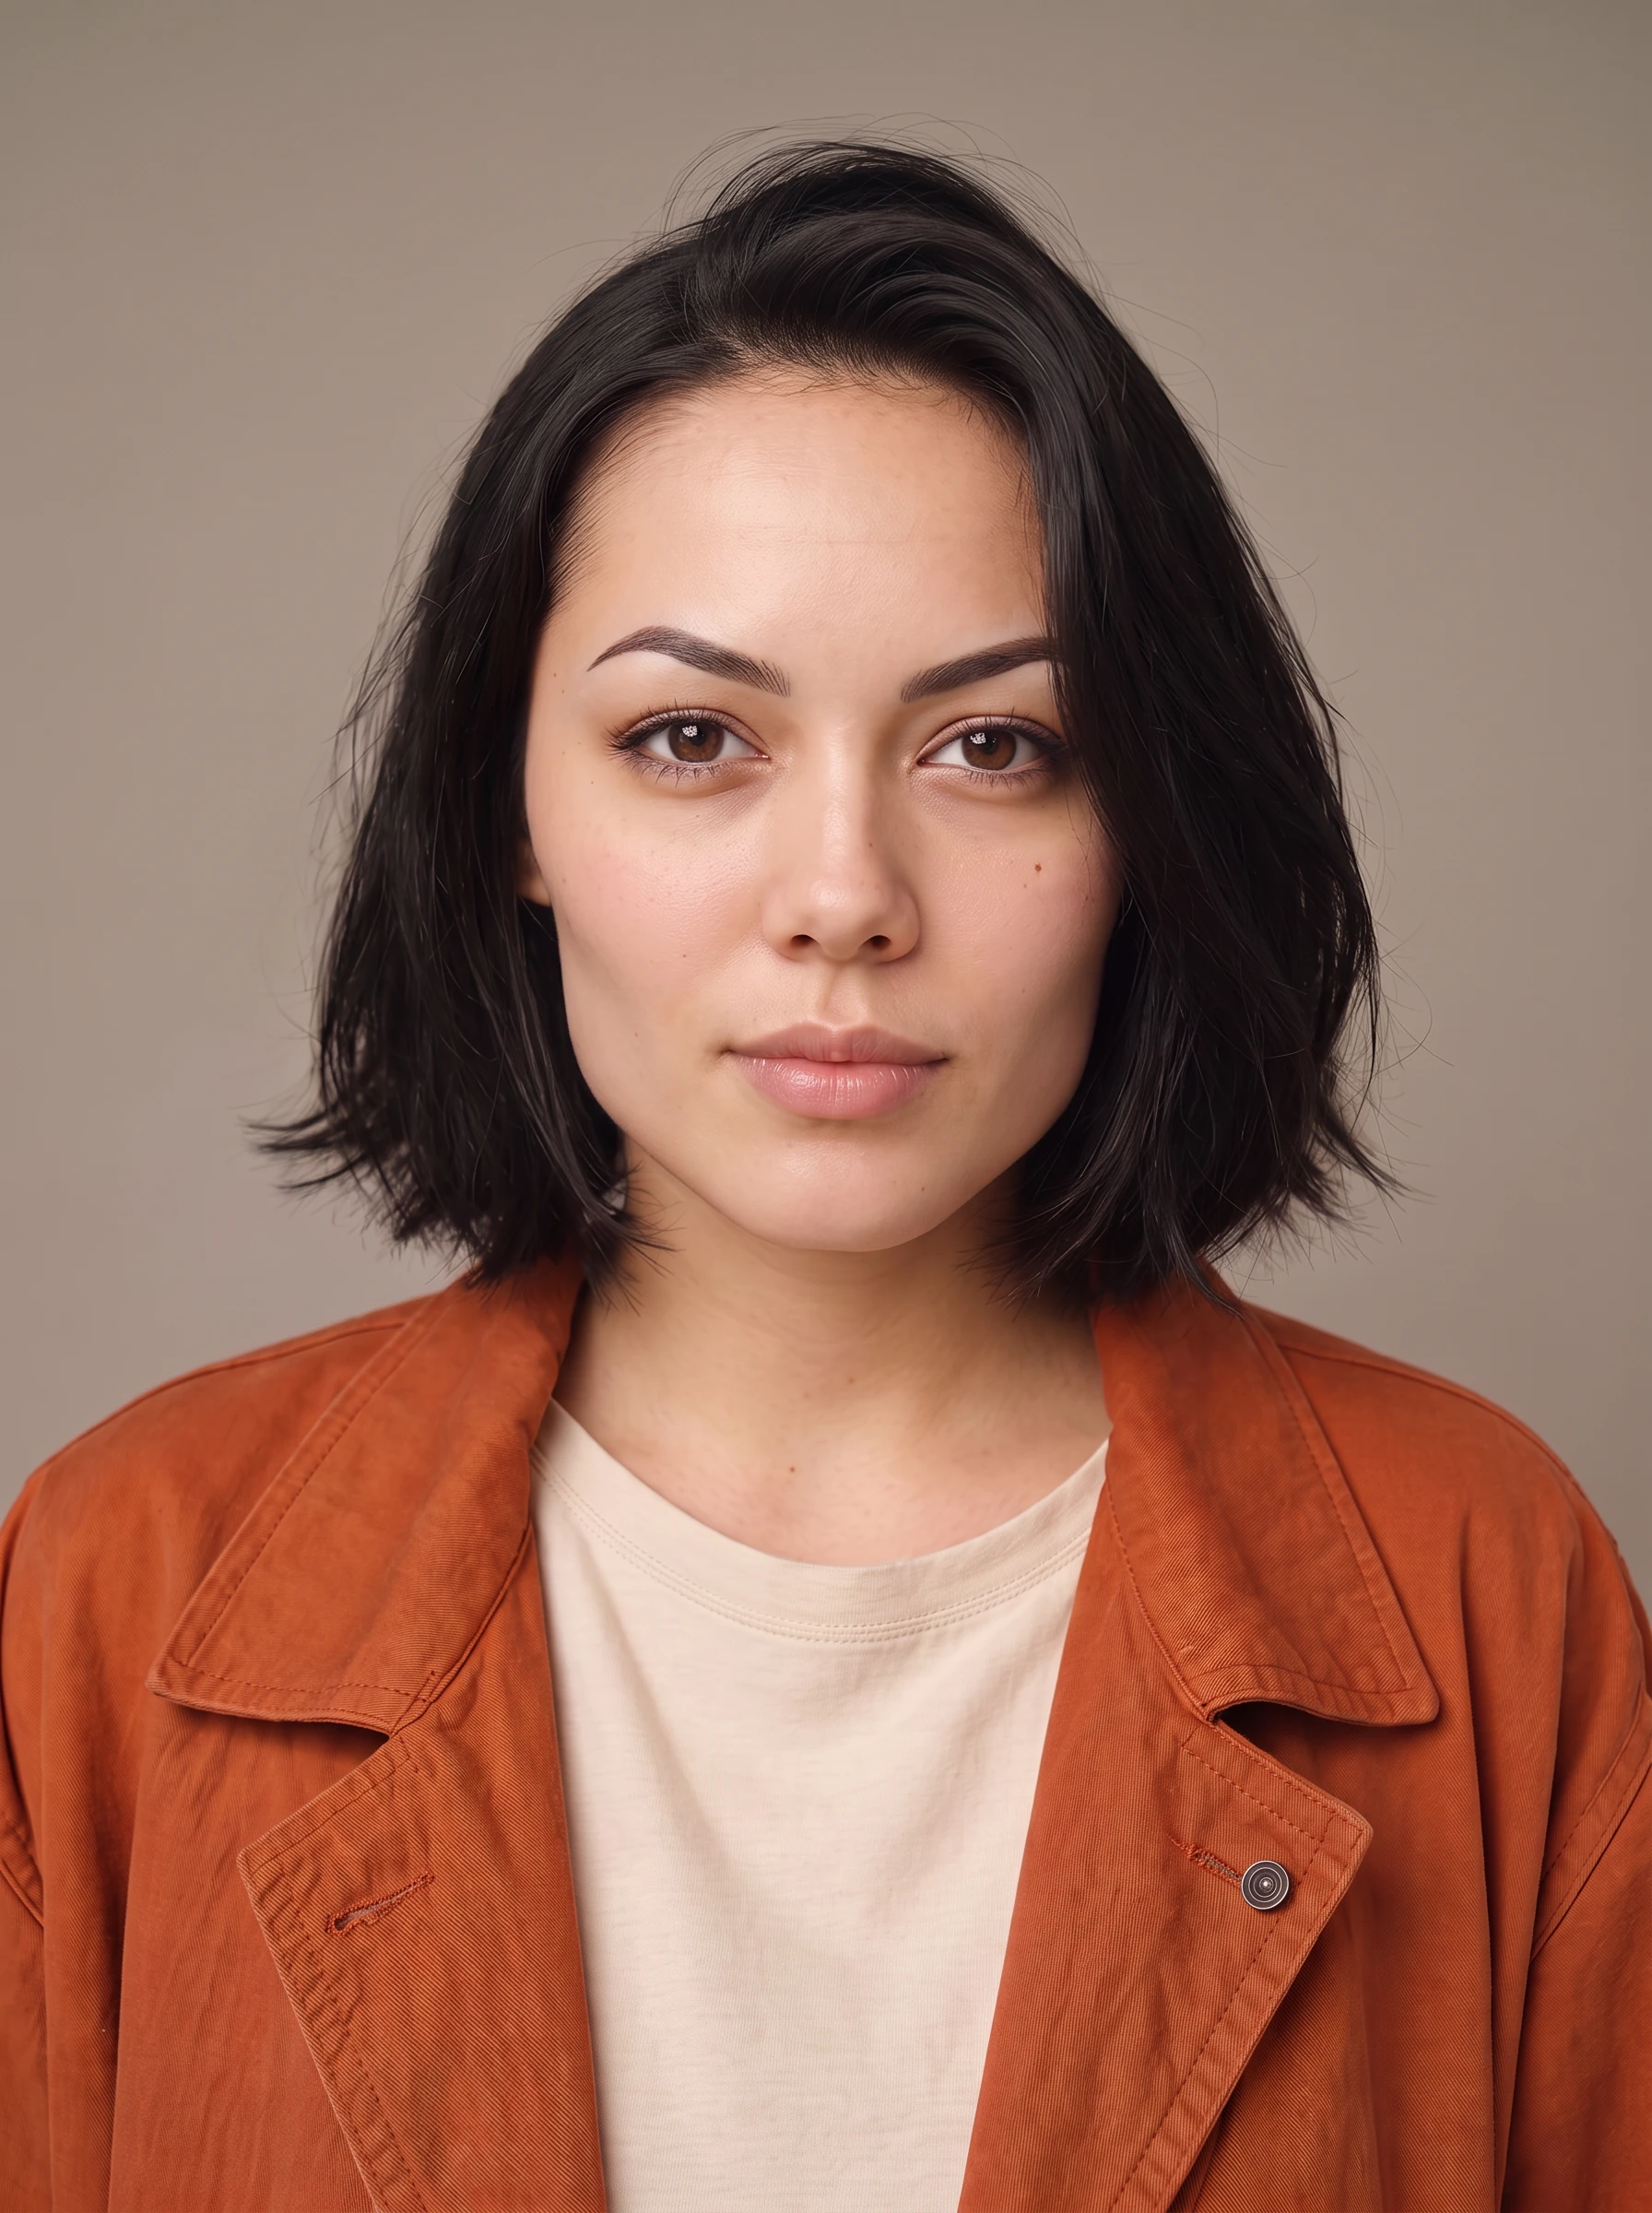
Choose a clear master image
Pick an image that makes the character easy to recognize. Favor a visible face, readable hair shape, and lighting that reveals features. A dramatic silhouette may be an excellent poster but a poor identity reference.
Check the image before accepting it as your baseline. Look for details you would be unhappy to repeat: uneven eyes, an accidental accessory, or an unclear hairline. Use an original character or material you have permission to use.
Add references with a purpose
If your workflow accepts multiple references, choose views that explain the same character: a front view, a three-quarter view, and a full-body view when proportions matter. Do not add a contradictory image just to increase the reference count.
Assign a role to each input where the interface supports it. An identity reference, a pose reference, and a style reference serve different purposes. Check the model's instructions before assuming that every uploaded image receives the same treatment.
Write a short character card
Keep the card easy to reuse. Record visible traits and separate identity from styling. Here is the fictional character used throughout this article:
| Field | Example character card |
|---|---|
| Name | Mira, an original fictional adult character |
| Face | Oval face, dark brown almond-shaped eyes, straight brows, small rounded nose |
| Hair | Chin-length black bob with a side part |
| Distinctive detail | A small freckle below the left eye |
| Build | Medium build; proportions established by the approved reference |
| Baseline outfit | Rust-orange overshirt over a cream T-shirt |
| Visual treatment | Naturalistic editorial photography |
| Allowed changes | Location, expression, pose, camera framing; outfit changes only when specified |
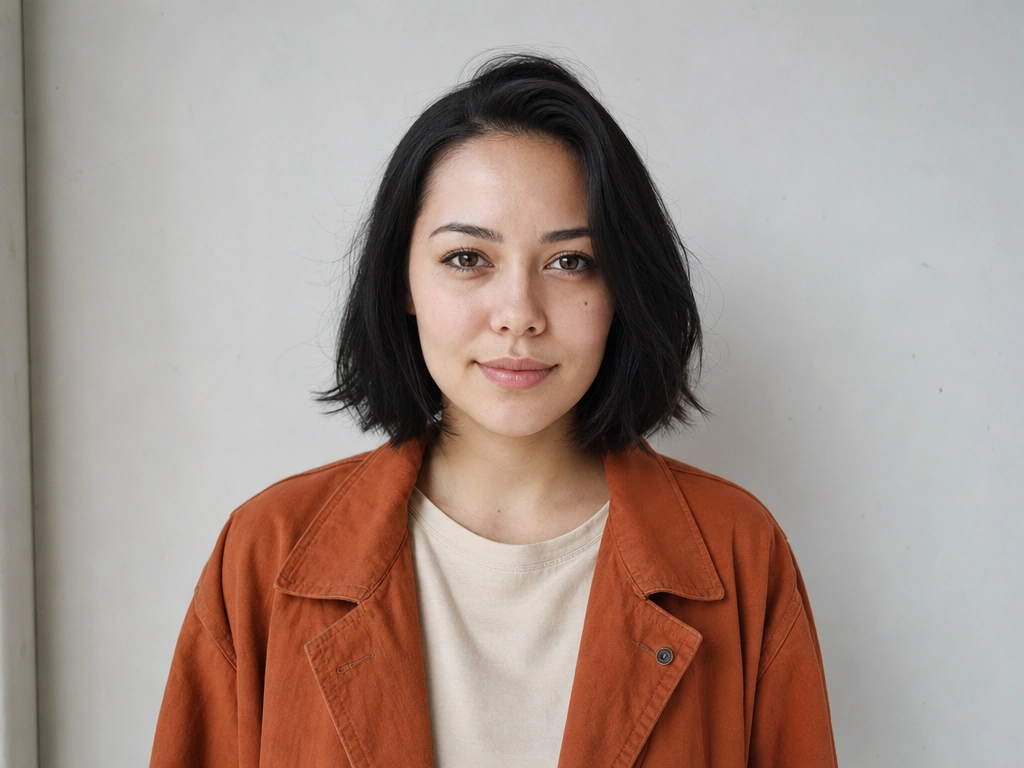
The description supports the reference; it does not encode a unique face by itself. A tiny freckle may also be difficult to judge in a wide shot. Evaluate each feature at the scale where it is visible.
Store the selected reference and this card together. Give approved revisions distinct names so that an experimental image does not silently replace your baseline.
Use a Repeatable Prompt Structure
A reusable structure makes your intentions easier to compare across scenes:
Character reference and fixed identity + action or pose + setting + framing and lighting + visual treatment + important constraints.
For Mira, the fixed description could be:
Use the supplied Mira reference for character identity: an original adult character with an oval face, dark brown almond-shaped eyes, straight brows, a small rounded nose, and a chin-length black bob with a side part. Retain the small freckle below her left eye where visible.
Then add the variable scene block:
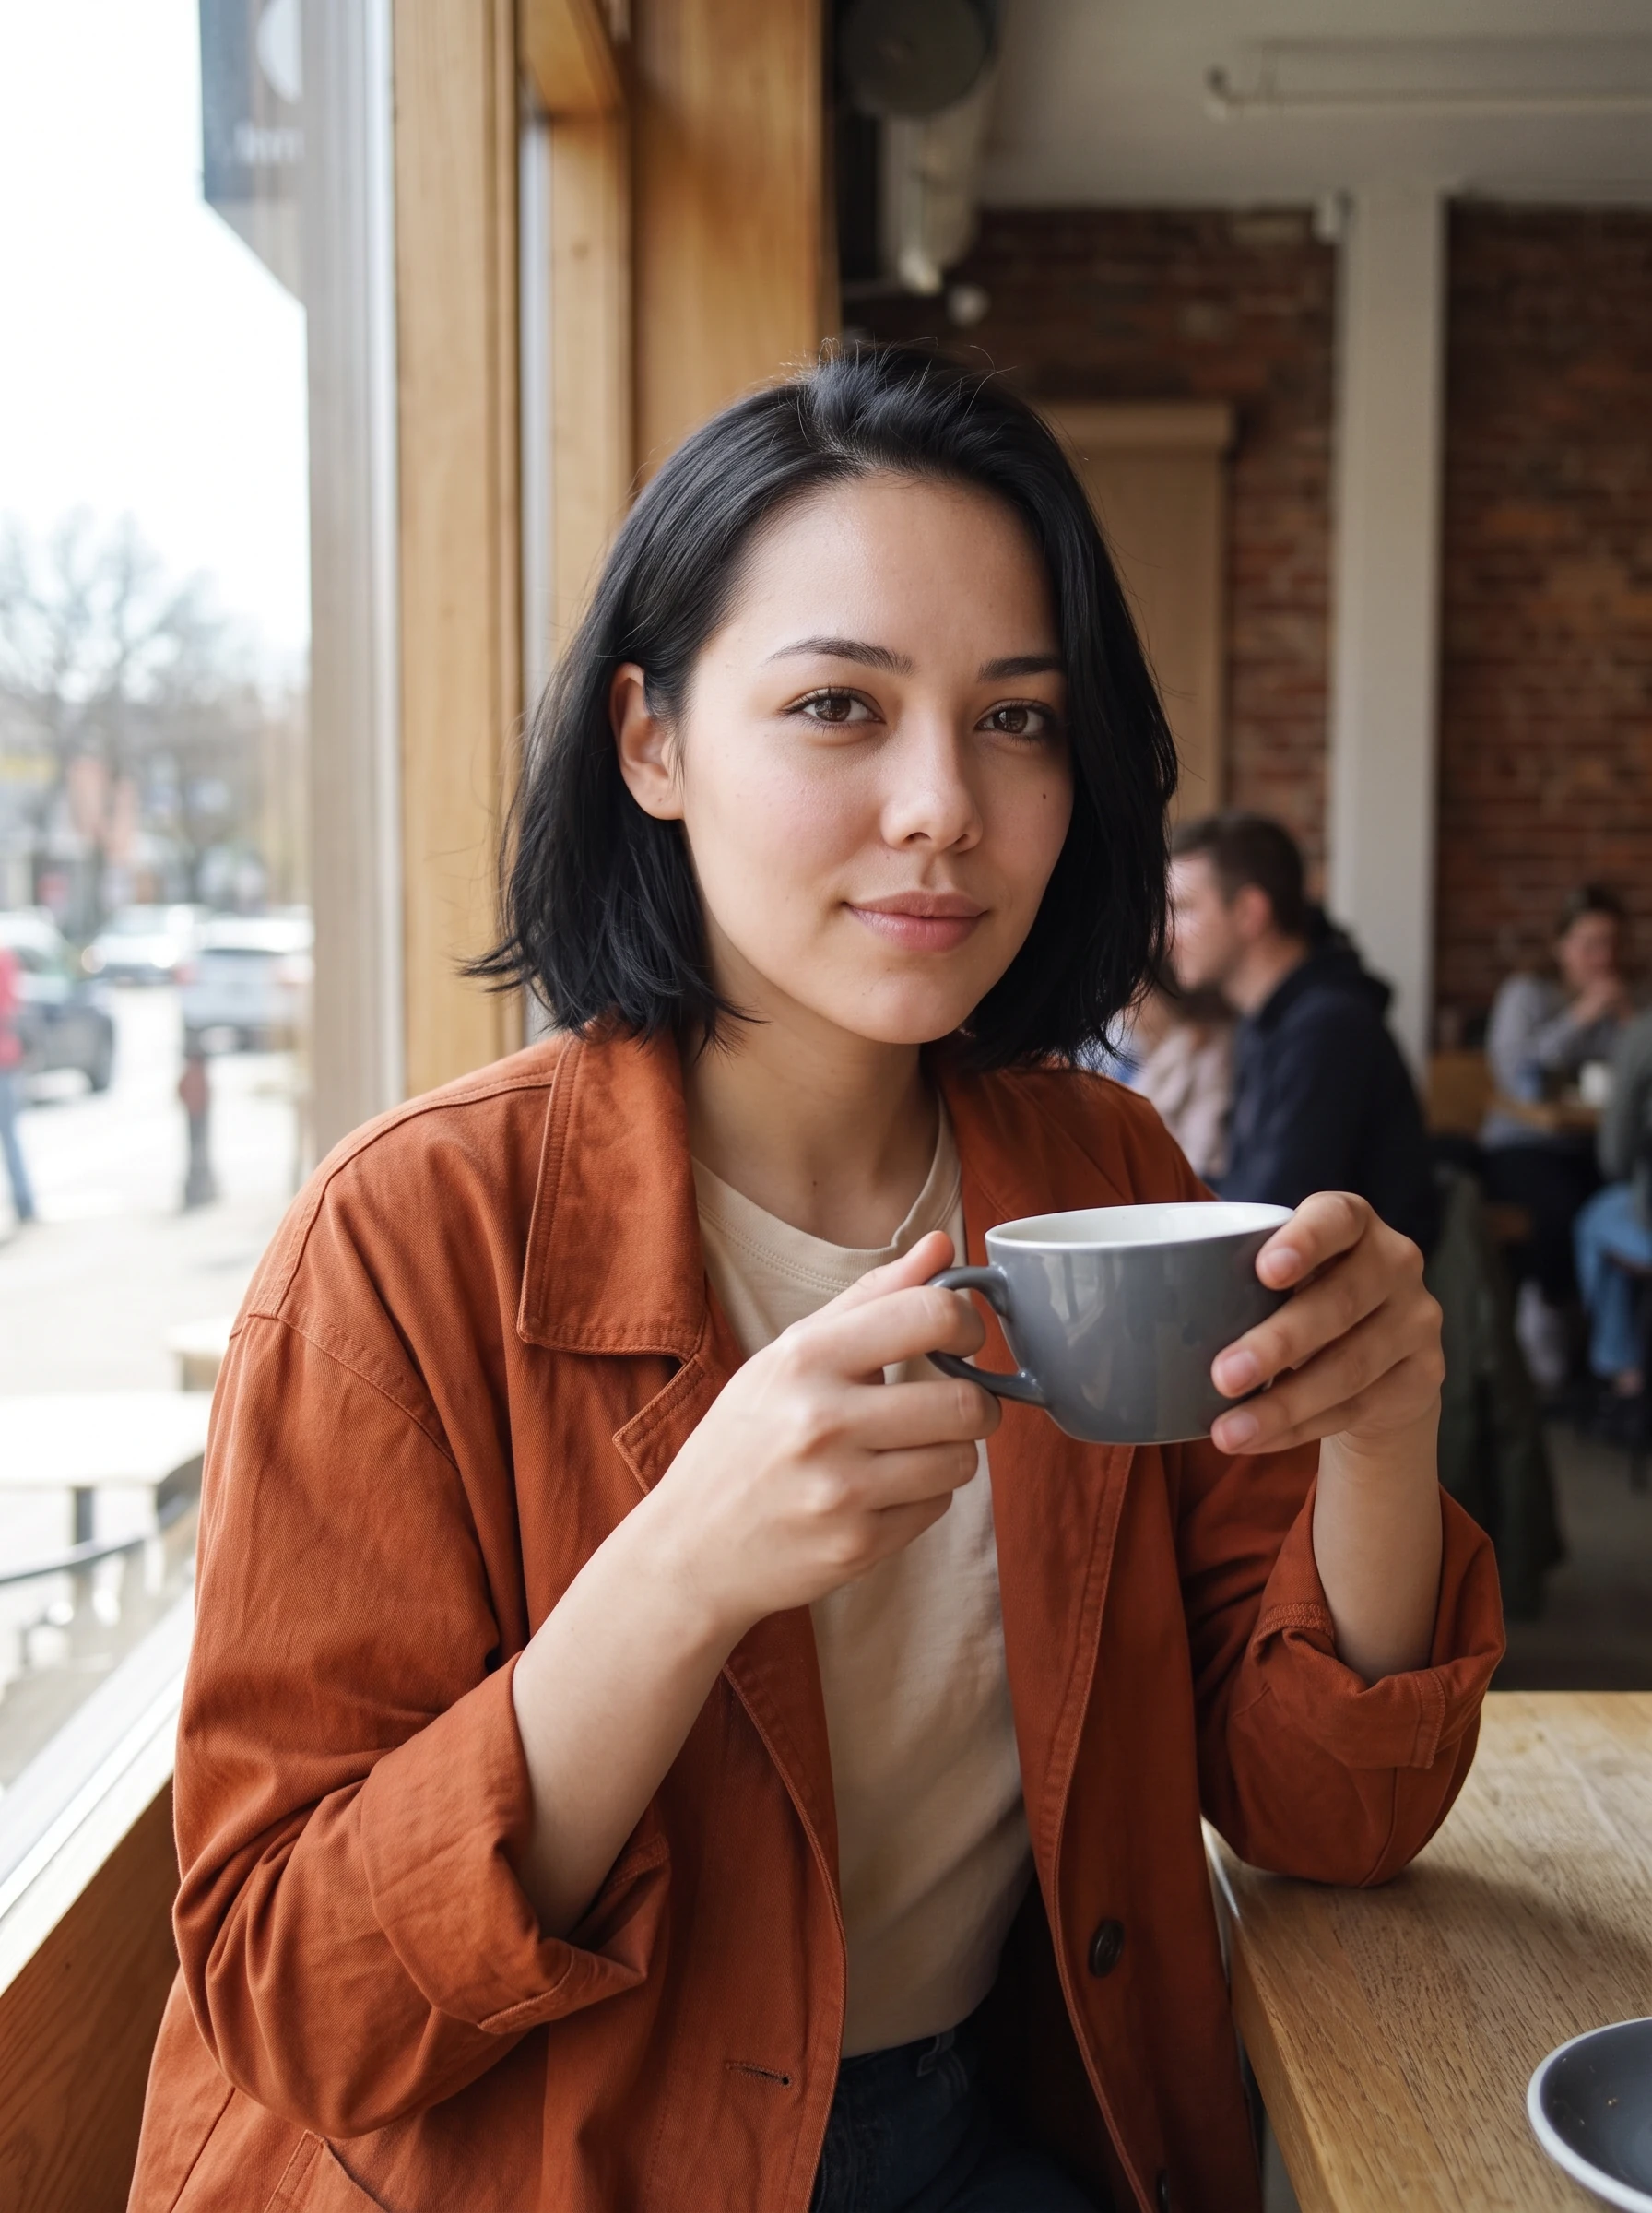
Mira sits beside a café window, holding a plain ceramic cup. Medium portrait, soft daylight, naturalistic editorial photography. She wears the rust-orange overshirt and cream T-shirt from the outfit reference.
For a second scene, keep the identity block and replace the scene block:
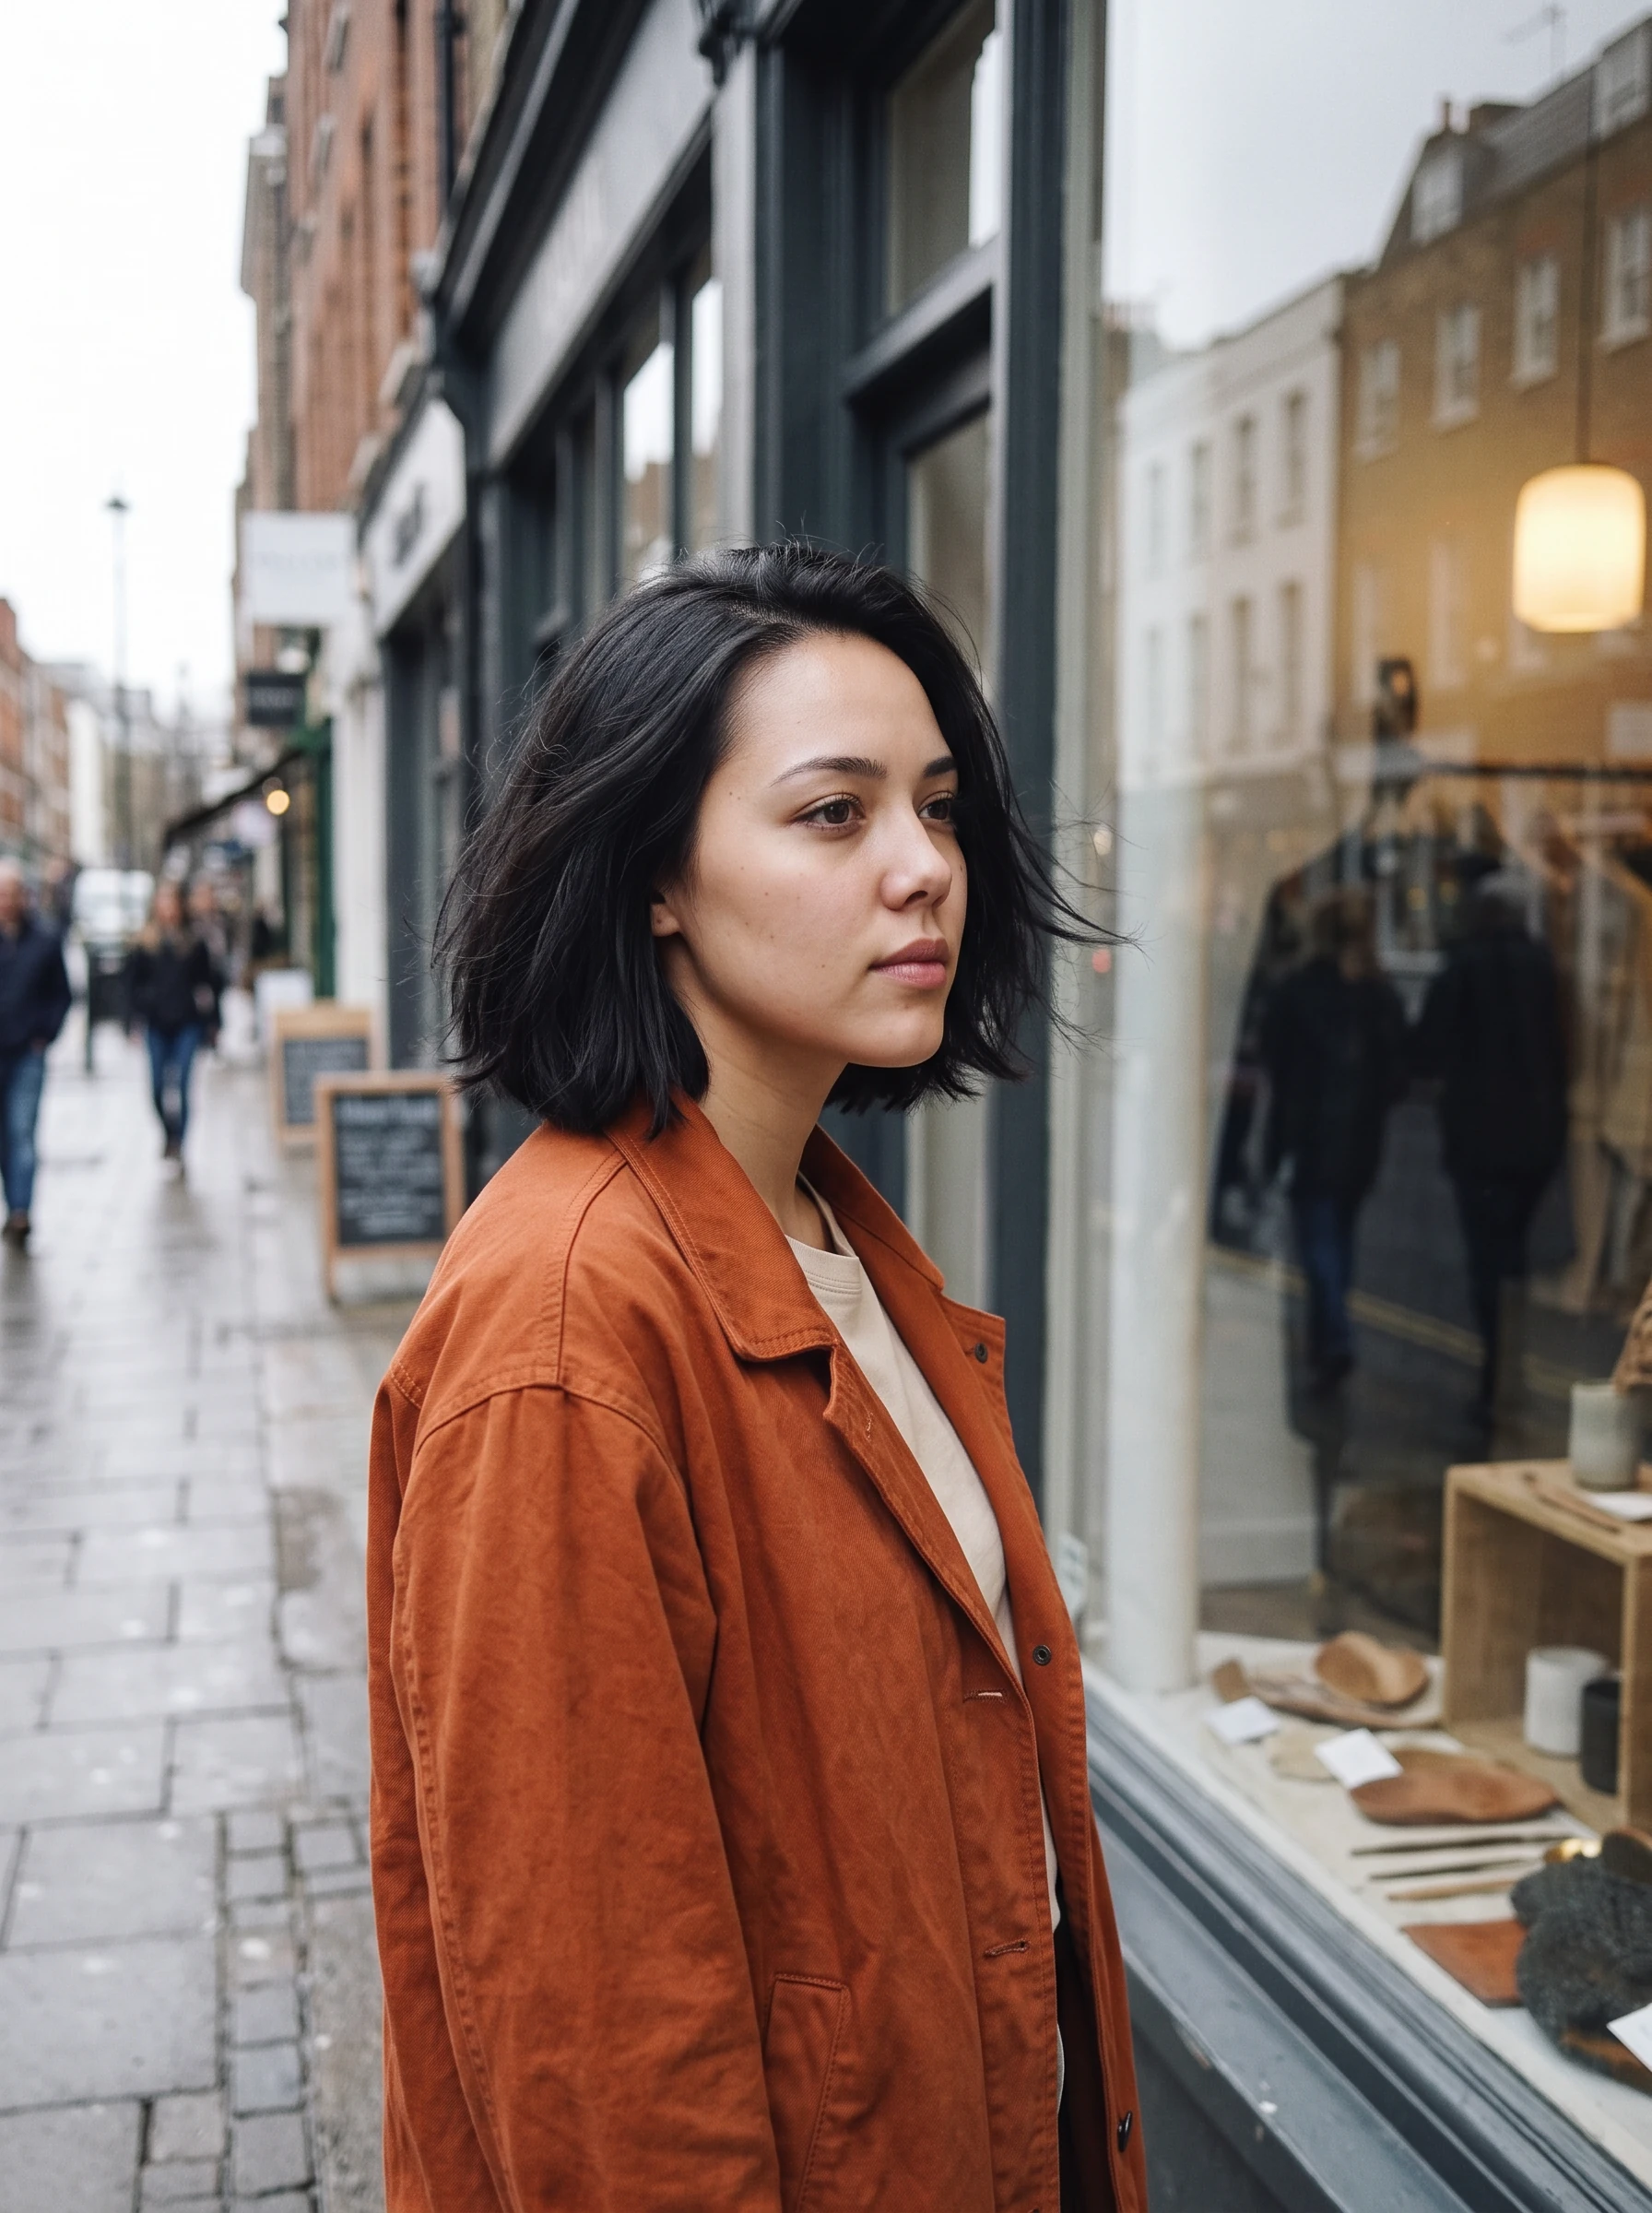
Mira stands on a quiet city sidewalk, looking toward a shop window. Medium portrait at eye level, overcast daylight, naturalistic editorial photography. Keep the baseline outfit.
For a third scene:
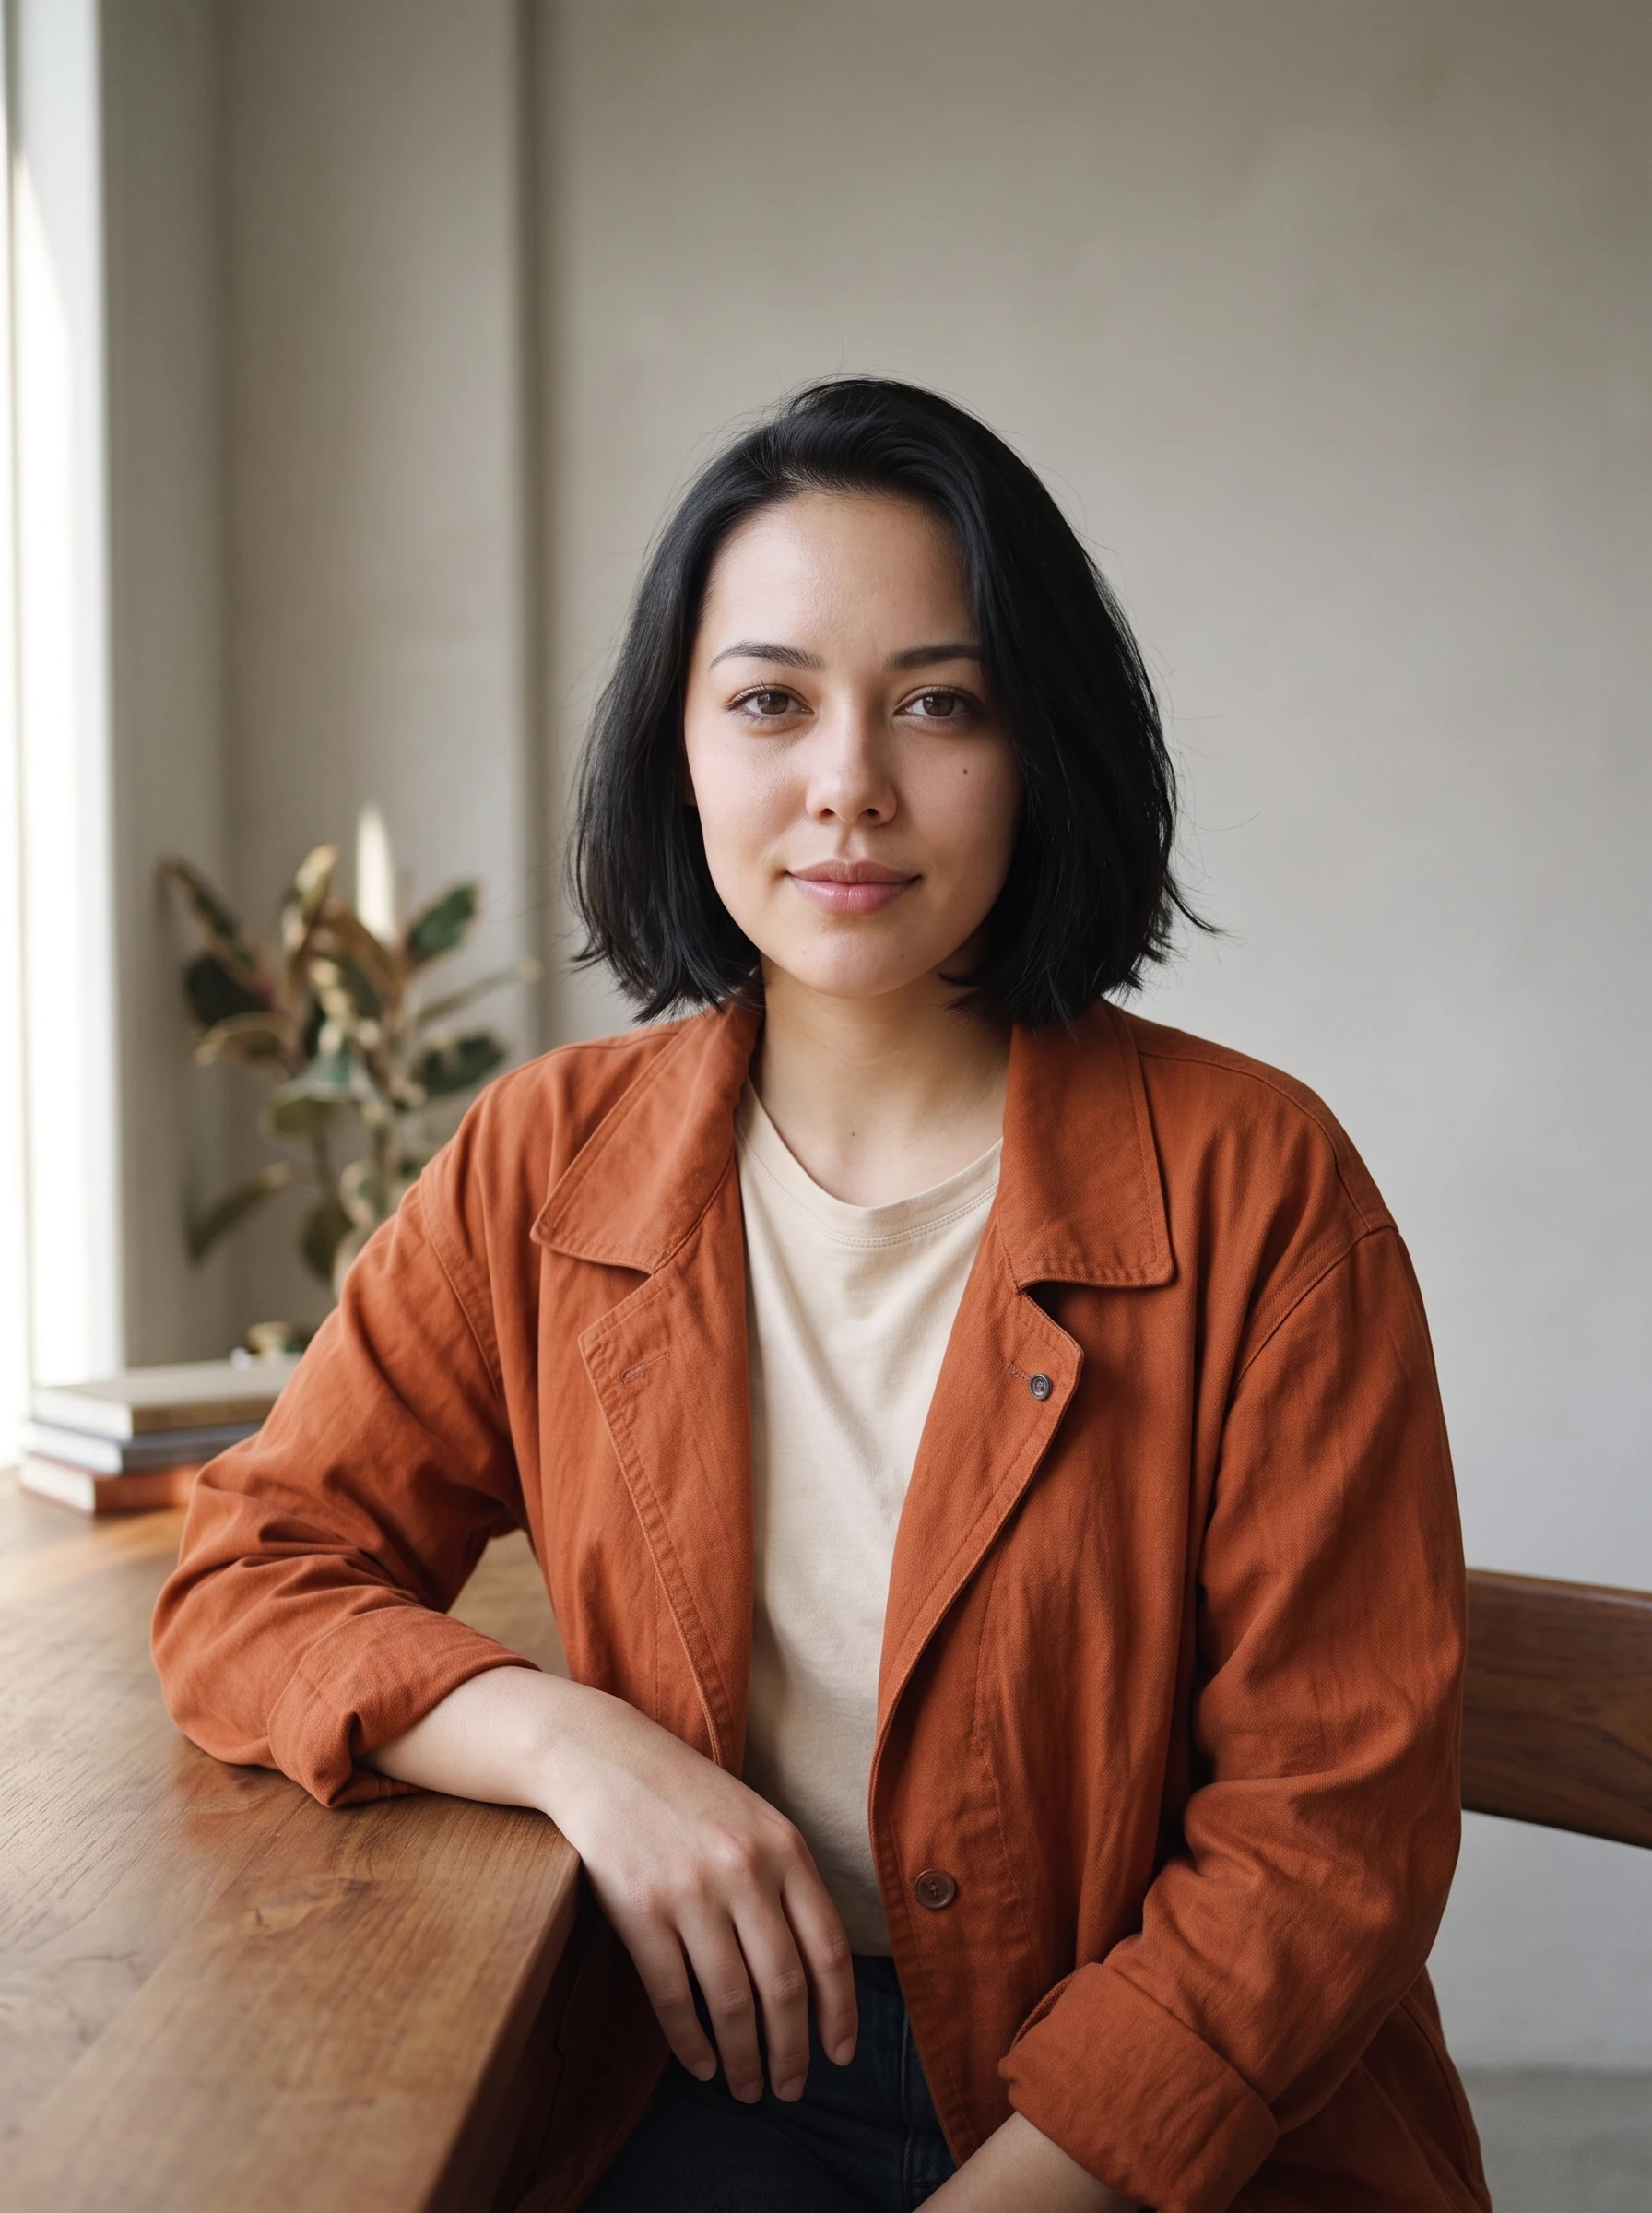
Mira sits at a wooden desk in a simple studio, looking toward the camera. Medium portrait, soft side lighting, naturalistic editorial photography. Keep the baseline outfit.
These prompts hold framing and styling relatively steady while the location changes. Once the character is established, you can explore wider shots or a different outfit as separate revisions.
Keep descriptions clear and compatible. Repeating the same identity block helps organize your experiment, but exact wording and prompt order do not guarantee identical results. Avoid adding a long list of competing style instructions to compensate for a weak reference.
If your model provides a separate negative-prompt field, use it for a specific recurring problem. Do not assume that syntax from another model applies. When no such field exists, describe the desired result directly in the main prompt.
Create Consistent Character Images Step by Step
1. Establish the baseline
Choose one approved image and record the model, available settings, reference inputs, and prompt. If the workflow exposes a seed, record it as part of that setup. Do not treat a seed as a portable identity identifier across models.
2. Start with a controlled scene change
Keep the outfit, framing, and visual treatment close to the baseline while changing the location. This gives you a clearer comparison than changing the location, pose, hairstyle, and lighting together.
3. Review against the master reference
Place the candidate beside the baseline. Check the face first, then hair shape and proportions. Review clothing and background afterward. A beautiful scene can distract from an identity mismatch.
Do not compare only with the most recent output. If every new image inherits a small change from the previous one, the character may gradually drift away from the original design.
4. Revise the specific mismatch
If the hairstyle changes, restore a clear hair reference and check the hairstyle description. If the face changes when the camera angle changes, consider whether you have a reliable reference for that view. If the issue appears only in a wide composition, inspect how much facial detail the image actually contains.
Where reference-strength or variation controls exist, consult the model documentation and change one setting at a time. Those controls are model-specific; the same numerical value does not necessarily mean the same thing elsewhere.
5. Save approved assets with their inputs
Keep a simple record containing the reference version, prompt, model, exposed settings, and review notes. Mark candidates as approved or experimental. This creates a usable character library rather than a folder of visually similar images with unknown origins.
Take Your Character from Images to Video
Begin with an image you have already reviewed. Where image-to-video is supported, that image provides the starting composition. It still needs to be checked throughout the resulting clip.
For the café scene, begin with a restrained motion prompt:
Mira sits beside the café window holding the cup. She blinks, takes a small breath, and shifts her gaze slightly toward the window. The camera remains still. Preserve the character's appearance and baseline outfit from the input image.
This is an illustrative instruction, not a verified result. Use it as a starting concept and adapt it to the selected model's guidance.
Review more than the thumbnail. Watch the clip and inspect frames near the beginning, middle, and end, as well as moments when the head turns or an object crosses the face. Check whether facial features, hair, and outfit details remain recognizable through movement.
If a shot loses identity, simplify it. Try a smaller head turn, less camera movement, or fewer simultaneous actions. Test one change before combining a large turn, a camera orbit, and a hand passing in front of the face.
For a sequence with several shots, prepare each shot from the approved character kit where the workflow allows. Match the intended outfit and visual treatment across those inputs. Review the assembled sequence too: differences that seem minor in isolation can become obvious at a cut.
Fix Common Character Consistency Problems
| Problem | Check first | Next adjustment to try |
|---|---|---|
| The face looks like a different person | Is the intended identity reference active and clearly visible? | Return to the master reference and simplify conflicting descriptions. |
| Hair becomes longer or changes shape | Do references disagree about the hairstyle? | Use an approved view with a clear silhouette and one hairstyle description. |
| Clothing changes unexpectedly | Is the outfit specified for this scene? | Separate the identity reference from the intended outfit instructions. |
| The character shifts into a different art style | Do style instructions conflict with the references? | Use one coherent visual treatment and review the reference roles. |
| Two characters share or swap features | Are their positions and descriptions ambiguous? | Define each character and position clearly; simplify interaction or test separate shots. |
| Identity drifts during video motion | At what action or camera move does the mismatch begin? | Reduce that movement and review a simpler shot before adding complexity. |
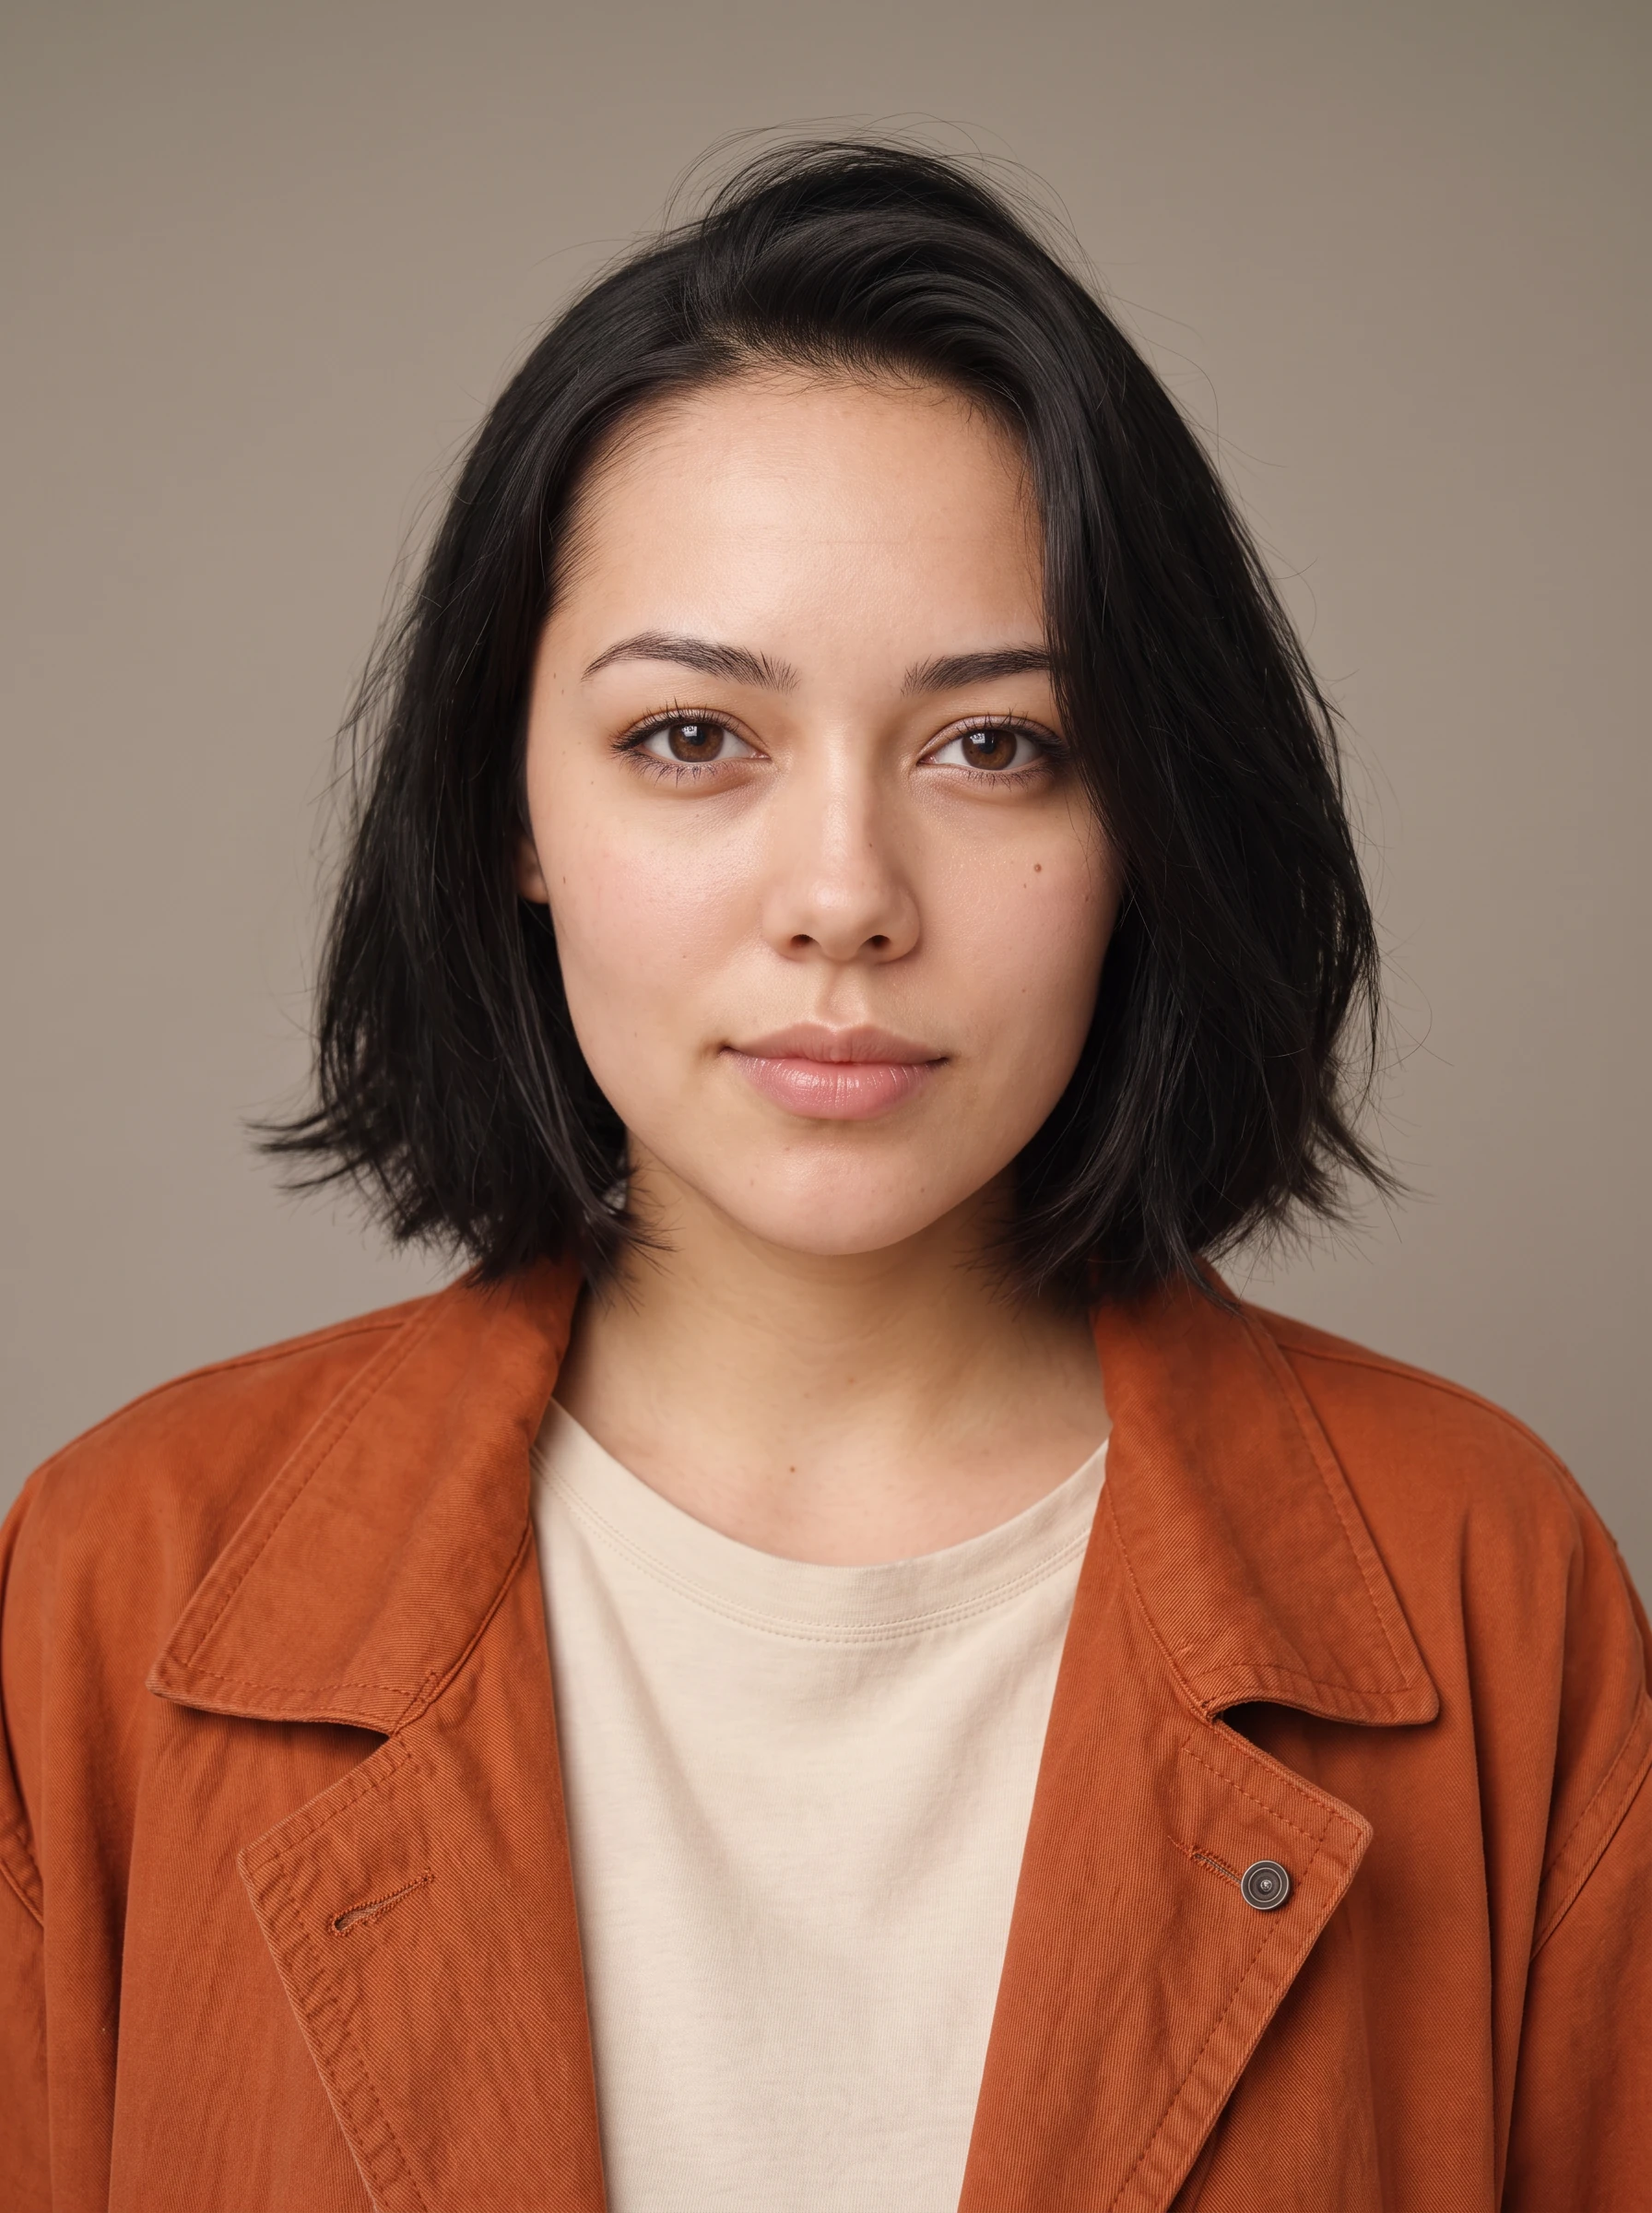
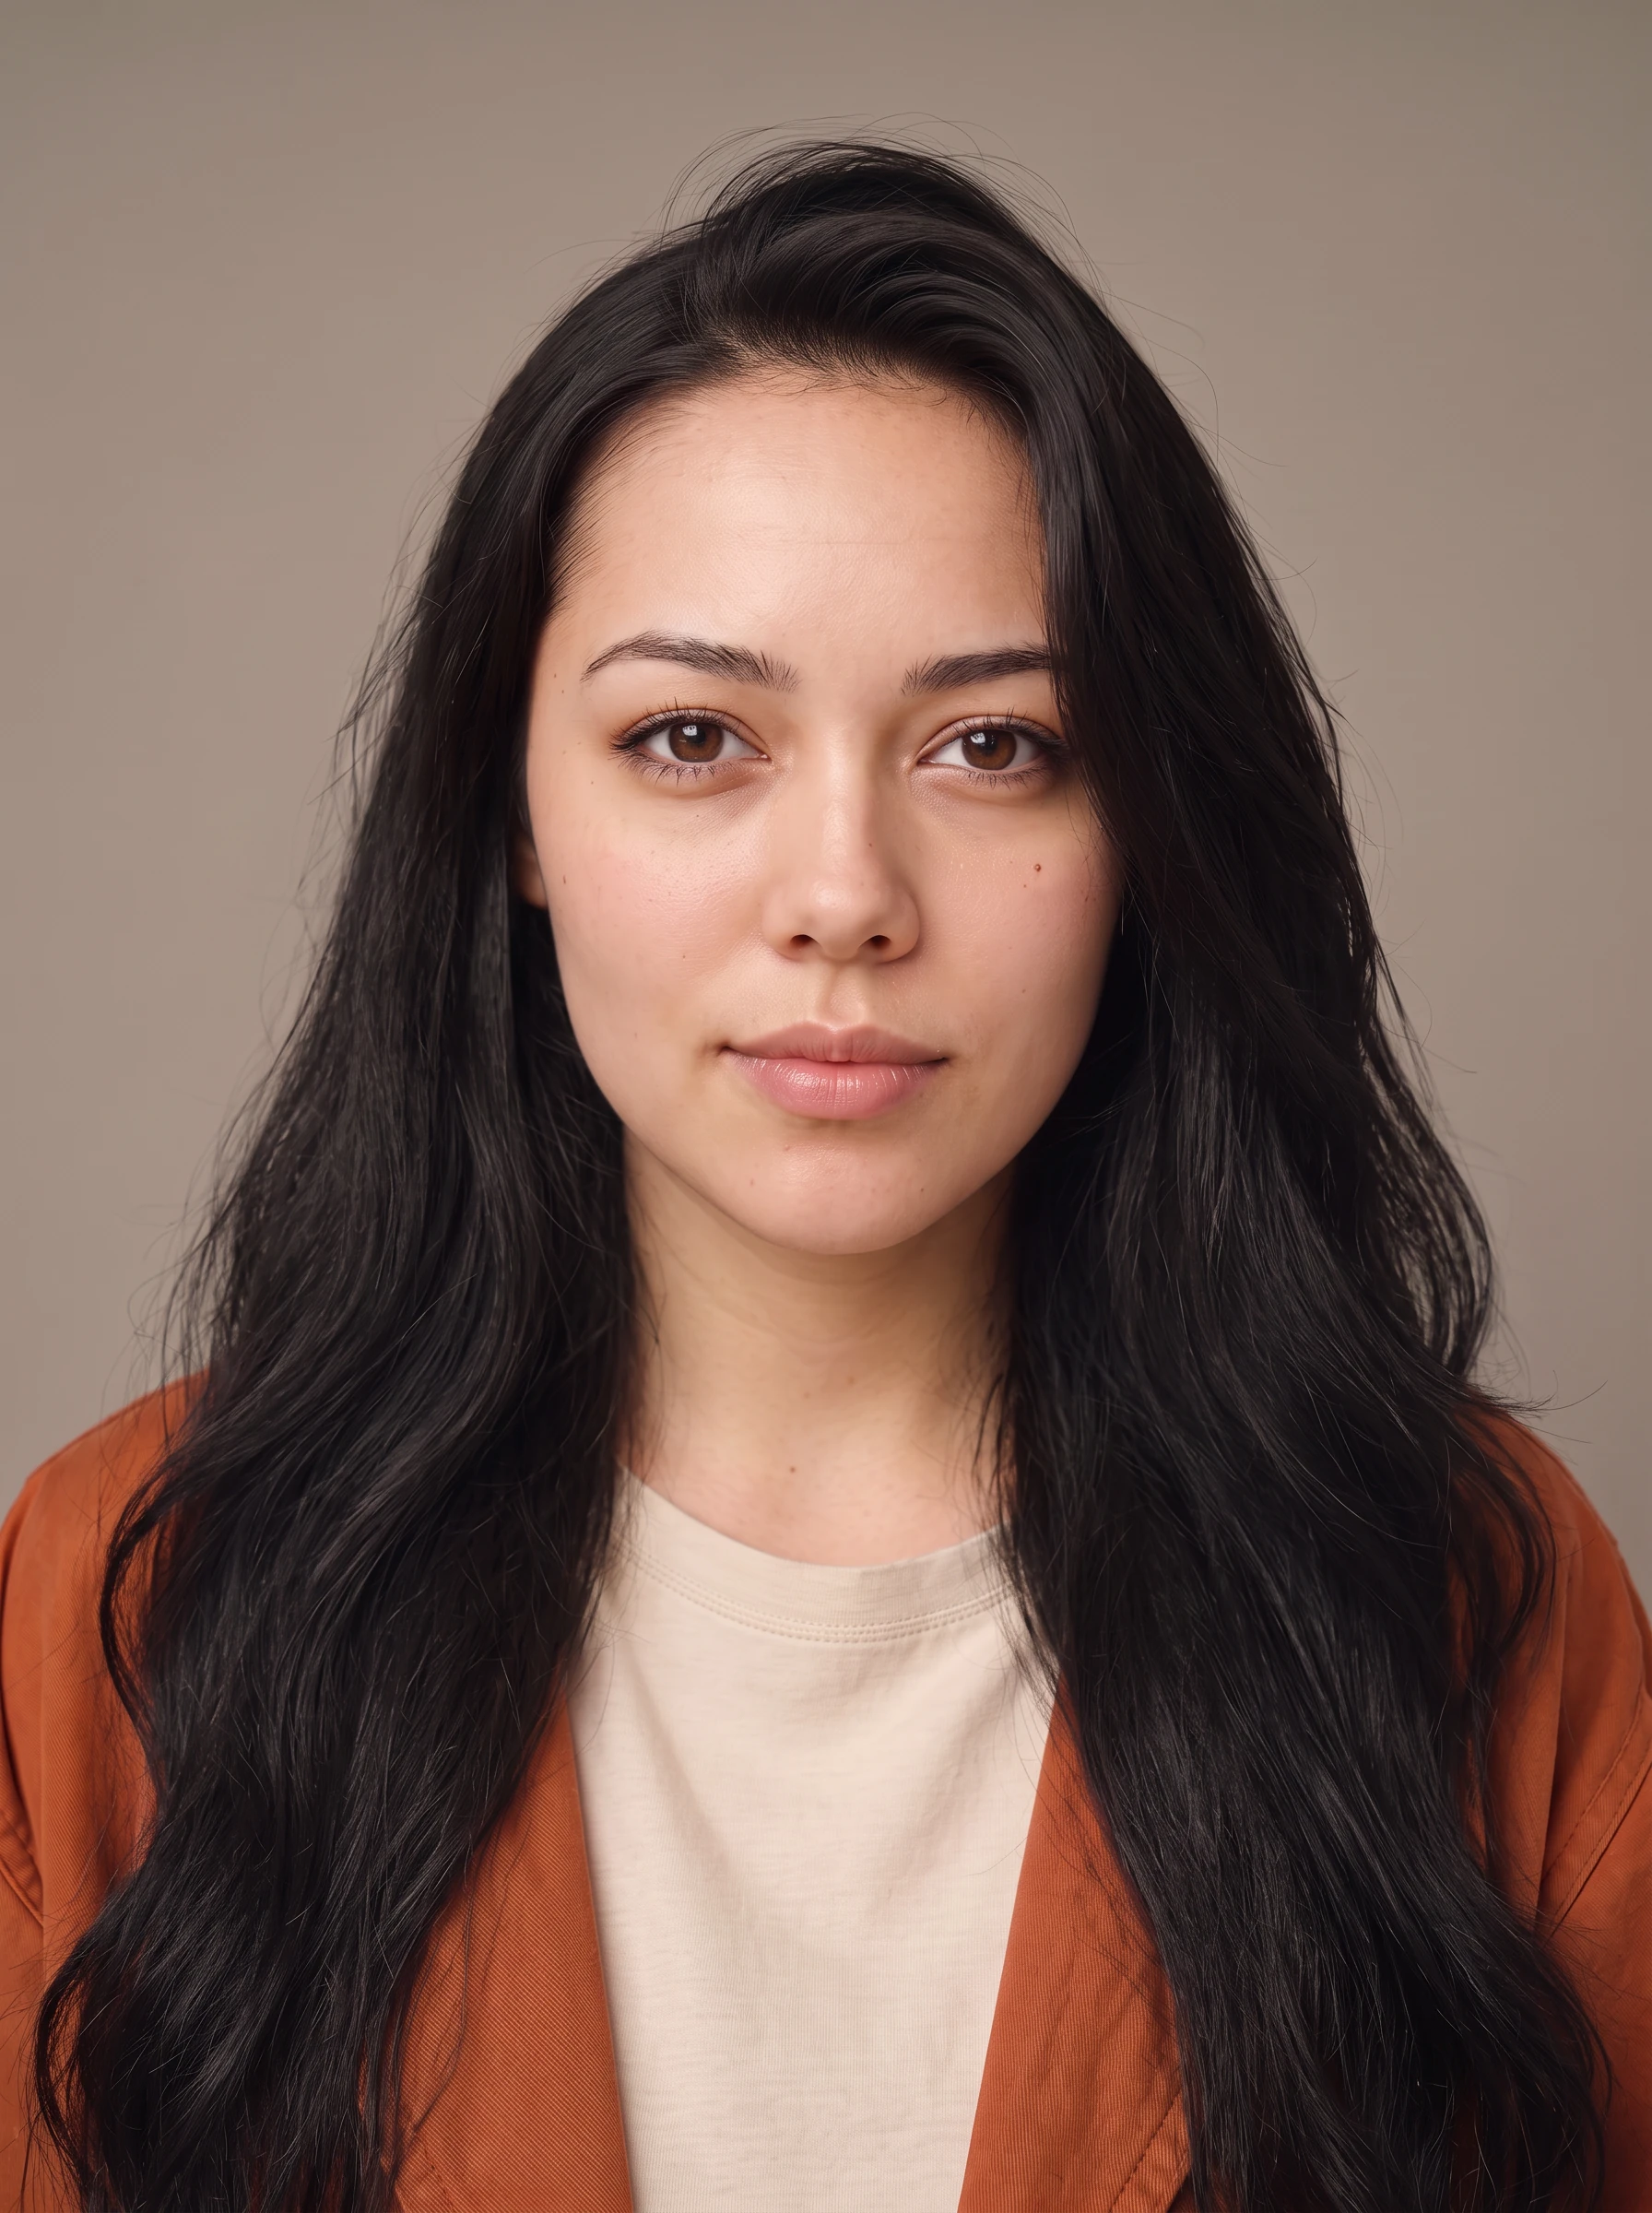
Use this table as a revision guide. It does not replace checking the actual inputs and supported controls. When a change improves the result, record it so that the next attempt starts from evidence you can inspect.
Example Workflow: One Character, Three Scenes
Here is how the Mira example becomes a small production plan.
Prepare the kit. Select the master portrait, an approved supporting view, the baseline outfit, and the character card. Keep experimental references outside the approved set.
Create the café scene. Use the fixed identity block and the café scene prompt. Review Mira's face, bob silhouette, and outfit before accepting the composition.
Create the street scene. Return to the approved kit and change the scene block. Keep a comparable portrait scale for the initial review. Check that the new lighting has not concealed the features you need to compare.
Create the studio scene. Reuse the same baseline kit with the desk setting. Compare all three scenes together, rather than approving the studio image solely against the street image.
Animate one approved image. Start with the café image and a small gaze movement. Review the resulting clip before attempting a more ambitious action.
Package the approved set. Save each selected image, the clip if it passes review, and the input record. If one scene remains inconsistent, keep it marked as a candidate instead of presenting the set as complete.
This is a proposed workflow, not a report of a completed generation test. The accompanying illustrations should be labeled as concepts unless real inputs and outputs have been recorded.
Your Character Consistency Checklist
Before publishing a set, ask:
- Does the face remain recognizable against the master reference?
- Is the hairline and hairstyle consistent with the intended version?
- Do visible proportions match the approved design?
- Are distinctive details present where the framing makes them readable?
- Are outfit changes deliberate and appropriate to the scene?
- Does the visual treatment feel coherent across the set?
- In video, does identity hold through turns, movement, and occlusion?
- Do adjacent shots still look like the same character when edited together?
- Are approved references and generation inputs saved with the assets?
Review at the intended display size as well as close up. A detail can be technically present yet unreadable in a small social-media crop, while a mismatch may become visible only when the character fills the screen.
FAQ
Can I keep a character consistent using text alone?
A repeated description gives you a stable brief, but it may still produce different faces. Where supported, a clear character reference provides visual information that the text cannot fully specify. Review each result rather than assuming matching prompts mean matching identity.
How do I change clothes without changing the character?
Keep the approved identity reference and describe the new outfit separately. Remove wording that asks for the previous outfit. Check the face and proportions after the change, then save the accepted outfit as a distinct styling version.
Why does a reference image still produce a different face?
Check the reference's clarity, its assigned role, conflicting inputs, the requested angle, and the selected workflow. Reference images guide generation; they do not establish that every output will match. Consult the current model guidance for controls that are actually available.
Can I reuse the same character across different AI models?
You can reuse the approved reference kit as an input where accepted, but prompt interpretation and reference handling may differ. Re-establish and review the character in each workflow. Do not assume settings or seeds transfer directly.
How should I handle scenes with multiple characters?
Give each character a separate reference record and describe their positions clearly. Begin with a simple composition where faces are visible. If features mix, reduce overlap or consider separate shots or an editing workflow that gives you more control.
Can one good opening frame guarantee a consistent video?
No. Review the character throughout the clip, especially during changes in pose, expression, and visibility. For a multi-shot sequence, check both individual clips and the transitions between them.
Start with One Character and One Clear Reference
Prepare a character card, choose an approved image, and plan three scenes before expanding into a series. Keep the identity reference stable, make deliberate changes, and save the results that pass your review.
For your next Framivo project, start with that reference kit and a simple scene. Choose the available image or video workflow that fits your inputs, then build the sequence one approved asset at a time.